This manual is for the installation, configuration and the use of the payment module for PrestaShop 1.7 and boipa Payments.
System requirements:
- PHP8.0 or greater, refer to https://www.php.net/downloads.php
- Download PrestaShop 8 from https://www.prestashop.com/en/previous-versions and install it
- MySQL 5.6 or greater (or MariaDB 10 or greater)
- boipa Payments Merchant ID / password
- boipa Payments plugin distribution package: download the code as a zip file, unzip it, create a new folder called "boipa", copy the extracted files to the boipa folder and zip it to create "boipa.zip".
Before we dive into installation part, we have the below assumptions:
- You have installed PHP and PrestaShop 8 properly
- You have PrestaShop 8 administrator login details
Notes:
- We recommend before getting started you take a full backup of your website.
- Installation & screenshots are based on PrestaShop 8.0.4 version
- Install the module like any PrestaShop module by going to Modules > Module Catalog page and click on "Upload a Module".
 2. Once installed you should see the message: "Module Installed".
 3. Then click Configure. On the configuration page you will see the following form fields which must be populated. Please enter them with below values and click ‘Save’ button. All fields are required.
- Sandbox mode: enable the ‘YES’ for sandbox, otherwise, the ‘NO’ for live.
- Refund possibility: enable the ‘YES’ for supporting ‘refund’ function in order detail page, otherwise, the ‘NO’ disables the refund functionality in order detail page
- Merchant ID: replace with your merchant ID, should be several digits e.g. 666888
- Password: replace with your API password, should be several digits e.g. 1234
- ID Brand: replace with your brand ID, should be several digits e.g. 222


To carry out a refund is simple.
- Just go to the Orders > Orders, it will show all the finished order lists.
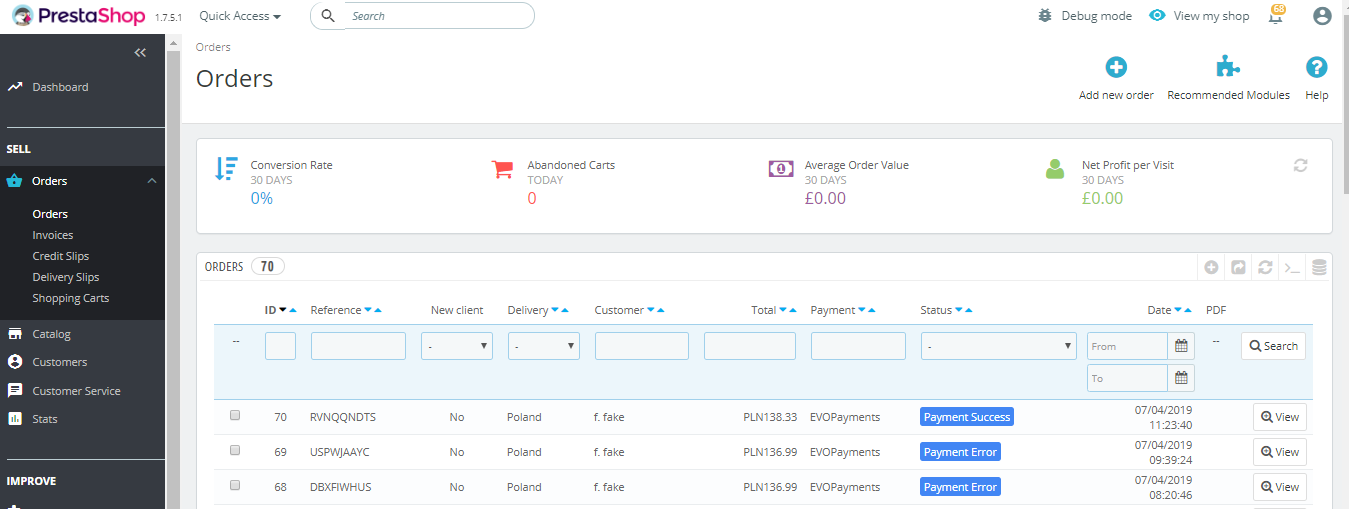
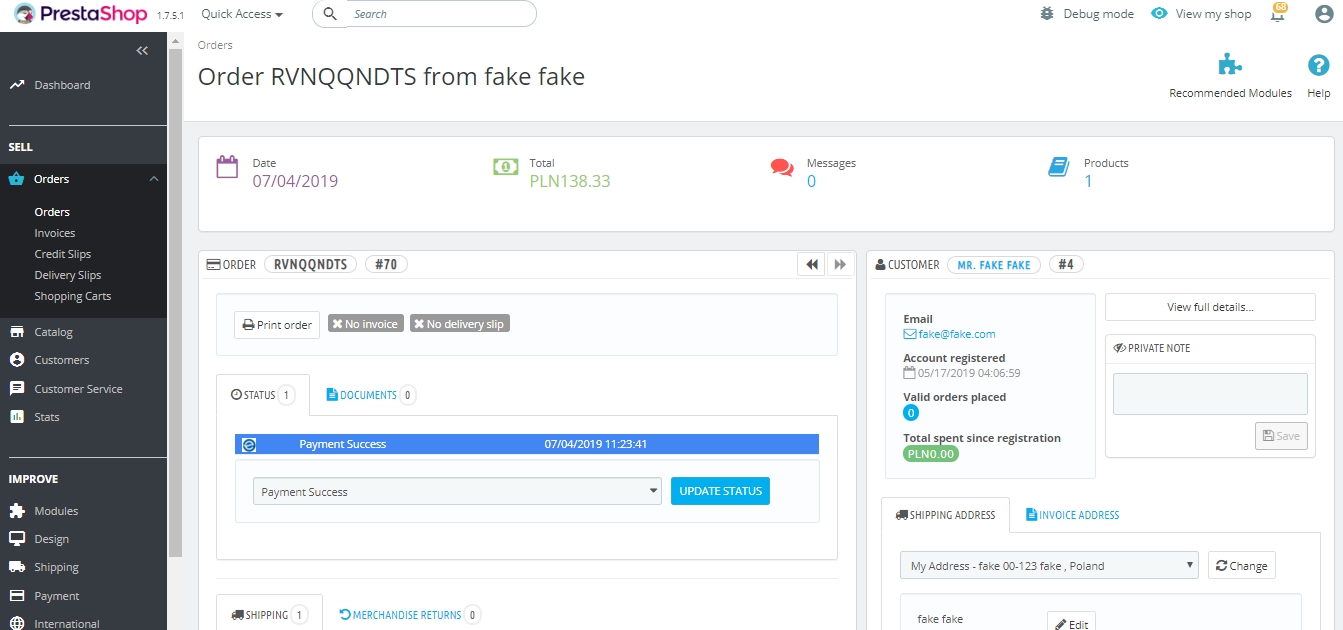
- Click on the order which you want to make the refund, then it goes to the order detail page.
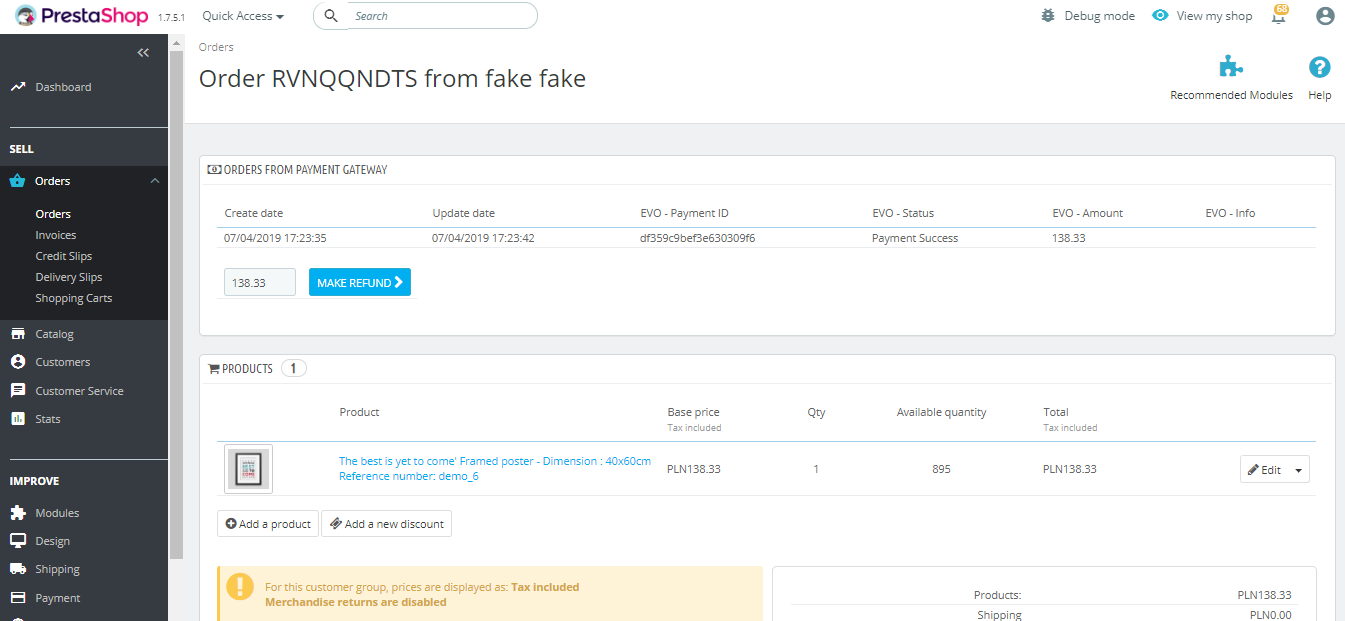
- Scroll to the ‘ORDERS FROM PAYMENT GATEWAY’ panel, input amount to be refunded, then click on the button ‘MAKE REFUND’.
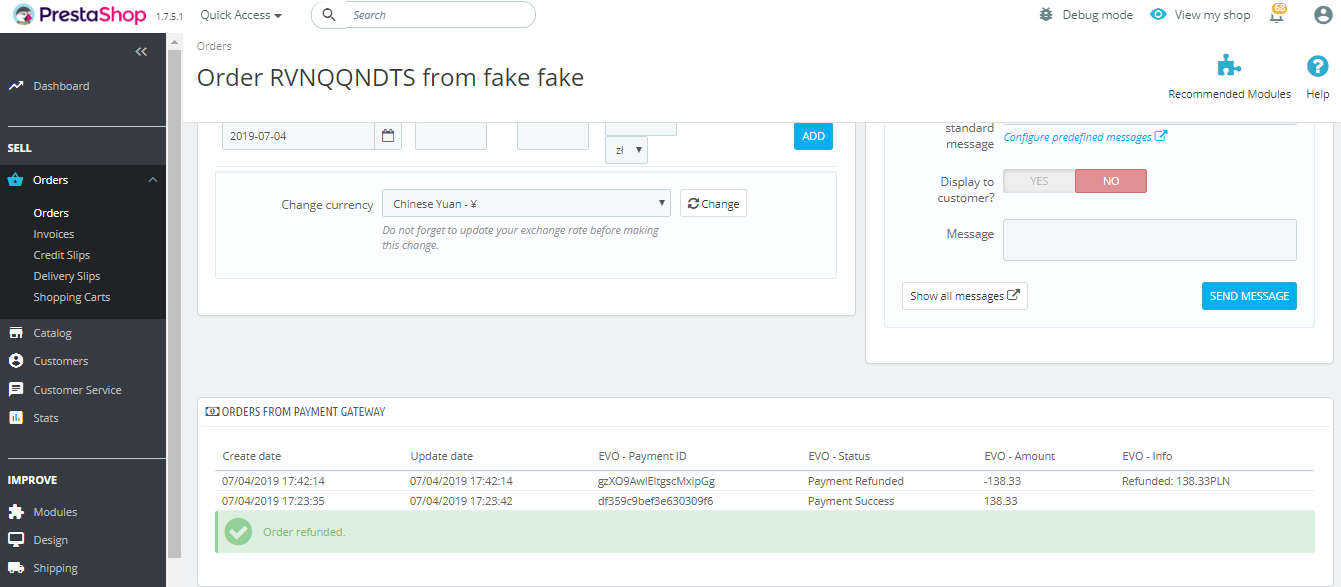
- You will see the green ‘Order refunded’ message. This can be verified in the merchant's back office tool as well.
- Do I need to use SSL/TLS on my payment pages?
Yes, for a couple of reasons:
- It's more secure. In particular, it significantly reduces your risk of being exposed to a man-in-the-middle attack.
- Users correctly feel more comfortable sharing their payment information on pages visibly served over HTTPS. Your conversion rate is likely to be higher if your pages are served over SSL/TLS, too.
- What if I don't want to set up SSL/TLS yet?
- You can test your page--but not live transactions--before installing your SSL/TLS certificate. You don't need to enable HTTPS until you're ready to go live.
- To test live transactions without your own SSL/TLS certificate, you could host your site with a provider that provides a secure subdomain.